MapperX 性能测试
1 搭建 dm-cache 环境
1.1 创建物理卷
1.1.1 修改虚拟机设置,添加两块虚拟磁盘
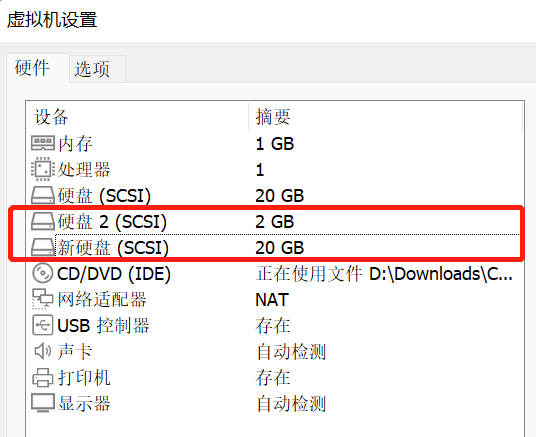
1.1.2 对新建的磁盘进行分区及格式化的工作(以其中一块为例)
- 执行 fdisk /dev/sdb,
1 | $ fdisk /dev/sdb |
- 在上一步骤的基础上输入:m,
1 | Command (m for help): m |
- 然后根据提示输入:n,以添加新的分区,
1 | Command (m for help): n |
- 依次输入 p 和 1,
1 | Partition type: |
- 接着便会提示卷的起始扇区和结束扇区,都保持默认按回车的即可(意思是只分一个区),
1 | First sector (2048-4194303, default 2048): |
- 输入 “w” 保存并退出,
1 | Command (m for help): w |
- 再次使用 “fdisk -l ”这个命令来查看会发现出现了/dev/sdb1(说明已经完成了分区工作),
1 | $ fdisk -l |
1.1.3 初始化分区为物理卷
- 使用 pvcreate 命令新建物理卷,
1 | $ pvcreate /dev/sdb1 |
- 查看当前的物理卷,
1 | $ pvdisplay |
物理卷 /dev/sdb1 出现在列表中
1.2 将物理卷添加到卷组
- 使用 vgextend 命令将物理卷添加到卷组,
1 | $ vgextend centos /dev/sdb1 |
1.3 在卷组上创建逻辑卷
- 使用 lvcreate 命令创建逻辑卷,
1 | $ lvcreate -n dm_cache -L 1G centos /dev/sdb1 |
1.4 将 fast LV 设置成 main LV 的高速缓存
- 使用 lvconvert 命令建立高速缓存磁盘和大容量磁盘的关联,
1 | $ lvconvert --type cache --cachepool dm_cache centos/dm_main |
- 查看当前的逻辑卷,
1 | $ lvdisplay |
2 安装性能测试工具
2.1 安装 fio
1 | $ yum install -y fio |
- fio 是一个多线程 I/O 生成工具,可以生成多种 I/O 模式,用来测试磁盘设备的性能(也包含文件系统:如针对网络文件系统 NFS 的 I/O 测试)。
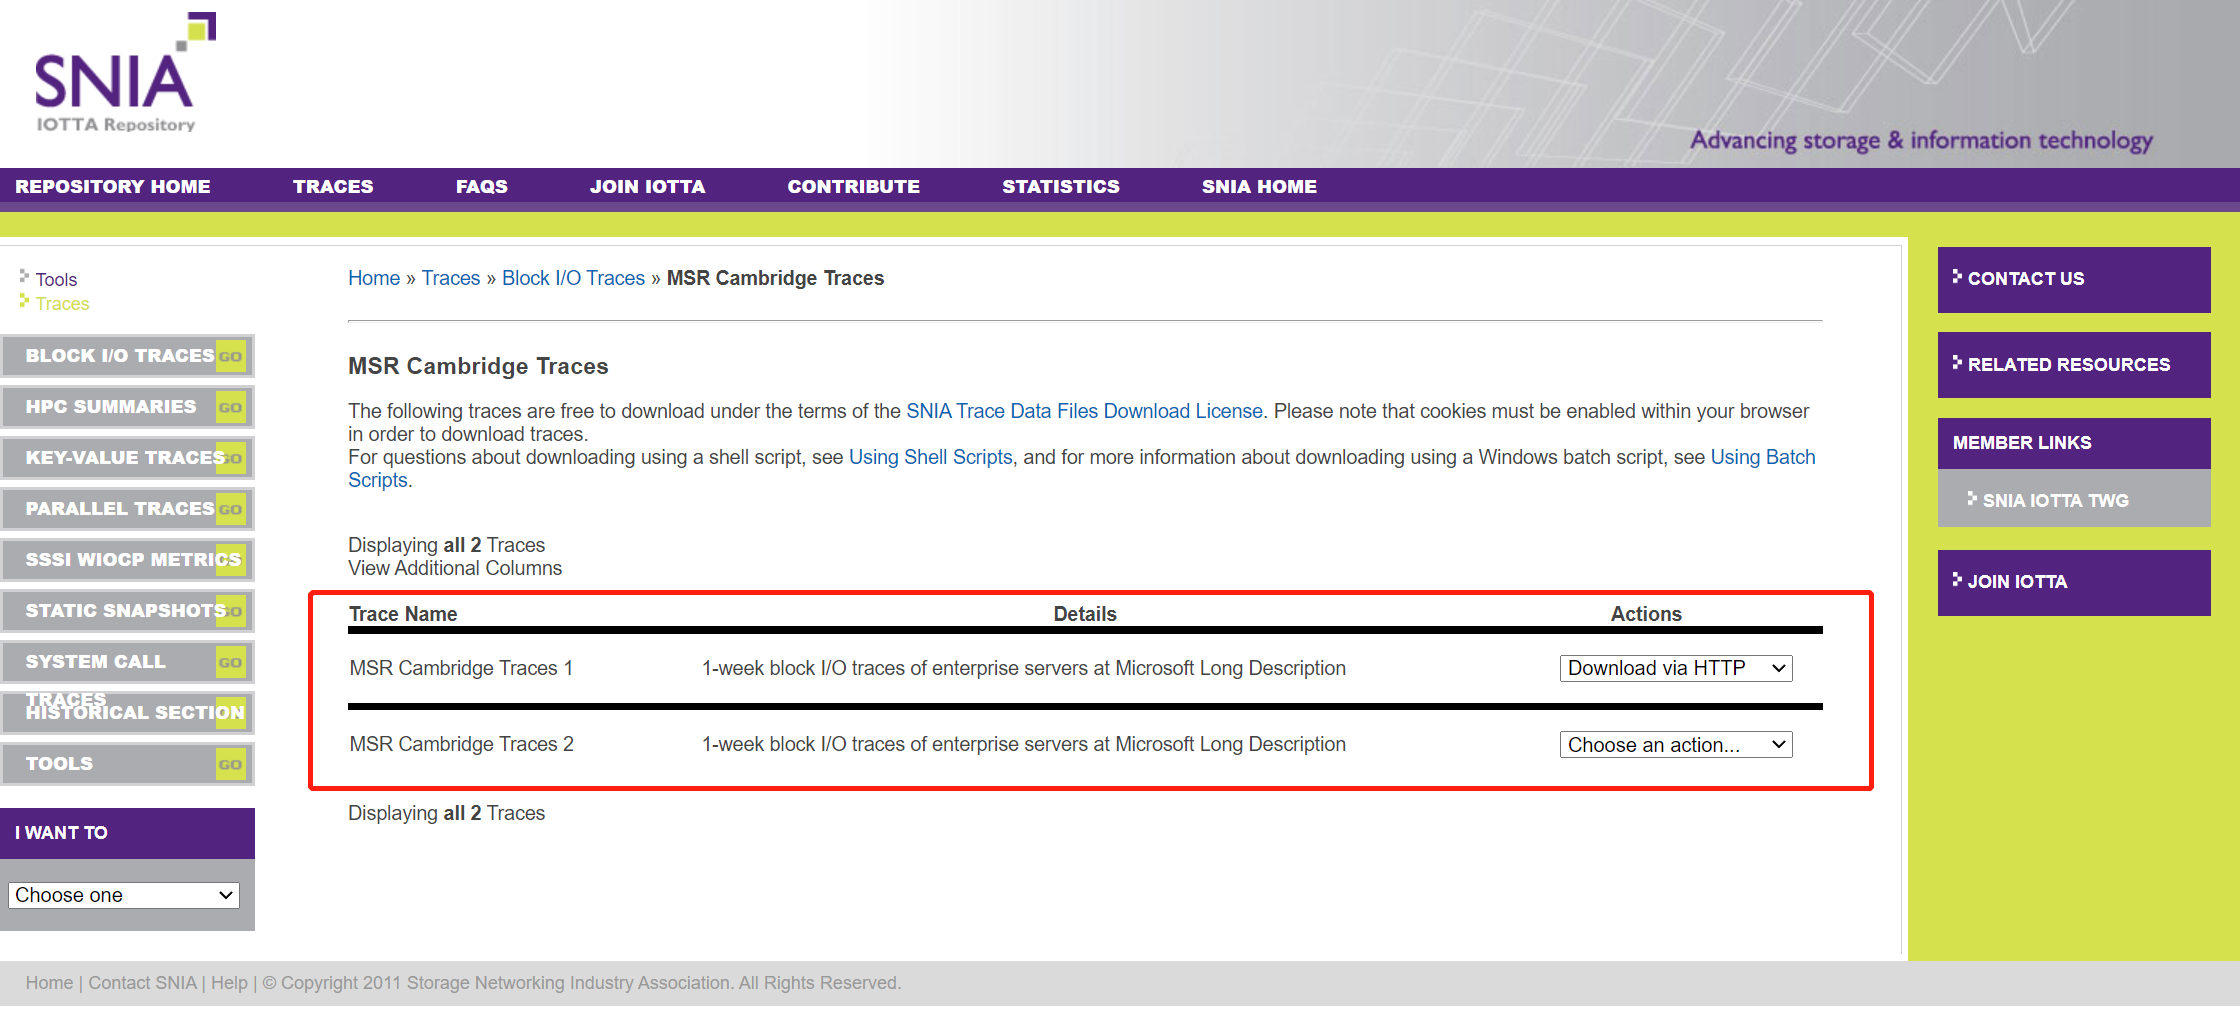
2. 下载 MSR Cambridge Traces
3 下载、编译、安装 MapperX
根据 MapperX README.md 的提示步骤,下载、编译、安装 MapperX
编译内核,
1 | $ make CONFIG_DM_CACHE=m -j4 |
- 编译指定模块,
1 | $ make CONFIG_DM_CACHE=m modules SUBDIRS=drivers/md |
- 安装模块,
1 | $ sudo make modules_install |
- 安装内核,
1 | $ sudo make install |
- 重启虚拟机,
1 | $ reboot |
4 Benchmark
4.1 Random Write Latency
4.1.1 sync
- dm-cache 默认的写策略是 write through,确保每次写到高速缓存的数据都能同步写到大容量低速设备上,不必担心数据丢失的风险,
1 | $ dmsetup status centos/dm_main |
- 查看高速缓存的块大小,
1 | $ lvs -o+chunksize centos/dm_main |
默认是 64 KB
- 运行 fio 开始测试,
1 | $ fio -filename=/dev/centos/dm_main -direct=1 -iodepth=1 -thread -rw=randwrite -ioengine=psync -bs=64k -size=100M -numjobs=50 -group_reporting -name=rand_100write_64k_clat > rand_100write_64k_clat |
实验数据,
1 | $ cat rand_100write_64k_clat |
clat(Completion Latency)p50为8979,avg为9572.78,p99.9为84411
- 重新运行 fio,其他参数不变,设置 iodepth=16,测试 IOPS,
1 | write: IOPS=5111, BW=319MiB/s (335MB/s)(5000MiB/15652msec) |
- 将 dm-cache 的块大小更改成 128KB,
1 | $ lvconvert --splitcache centos/dm_main |
重复上面的实验,先测 clat,
1 | $ fio -filename=/dev/centos/dm_main -direct=1 -iodepth=1 -thread -rw=randwrite -ioengine=psync -bs=128k -size=100M -numjobs=50 -group_reporting -name=rand_100write_128k_clat > rand_100write_128k_clat |
然后再测 iops,
1 | $ fio -filename=/dev/centos/dm_main -direct=1 -iodepth=16 -thread -rw=randwrite -ioengine=psync -bs=128k -size=100M -numjobs=50 -group_reporting -name=rand_100write_128k_iops > rand_100write_128k_iops |
- 将 dm-cache 的块大小更改成 256KB,
1 | $ lvconvert --splitcache centos/dm_main |
测试 clat,
1 | $ fio -filename=/dev/centos/dm_main -direct=1 -iodepth=1 -thread -rw=randwrite -ioengine=psync -bs=256k -size=100M -numjobs=50 -group_reporting -name=rand_100write_256k_clat > rand_100write_256k_clat |
测试 iops,
1 | $ fio -filename=/dev/centos/dm_main -direct=1 -iodepth=16 -thread -rw=randwrite -ioengine=psync -bs=256k -size=100M -numjobs=50 -group_reporting -name=rand_100write_256k_iops > rand_100write_256k_iops |
4.1.2 normal
- 将 dm-cache 的 write mode 更改为 writeback,
1 | $ lvconvert --splitcache centos/dm_main |
- 重复上面的实验,
当 dm-cache 块大小为 64KB 时,clat 为,
1 | clat (usec): min=122, max=254254, avg=3028.95, stdev=8495.91 |
iops 为,
1 | write: IOPS=14.8k, BW=925MiB/s (970MB/s)(5000MiB/5405msec) |
- 当 dm-cache 块大小为 128KB 时,clat 为,
1 | clat (usec): min=117, max=502708, avg=4851.00, stdev=8269.09 |
iops 为,
1 | write: IOPS=9541, BW=1193MiB/s (1251MB/s)(5000MiB/4192msec) |
- 当 dm-cache 块大小为 256KB 时,clat 为,
1 | clat (usec): min=205, max=310102, avg=8785.39, stdev=9813.20 |
iops 为,
1 | write: IOPS=5323, BW=1331MiB/s (1395MB/s)(5000MiB/3757msec) |
TODO
Benchmark
实验结果分析